
Geepas Smart Tv | Software Update Fixed Fixed
When the internal recovery partition cannot fix the operating system, you must manually flash the stock firmware using a physical USB drive.
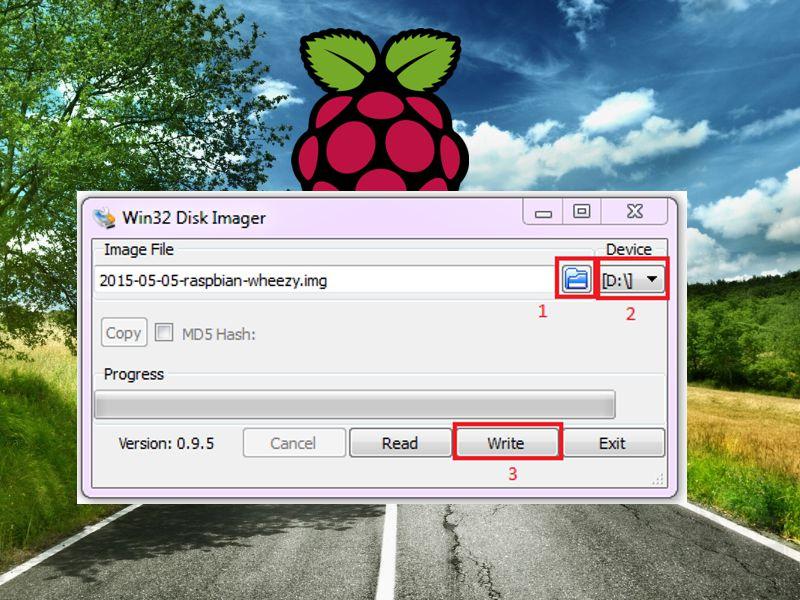
Format a USB drive to FAT32. Copy the downloaded firmware file (often a .bin or .zip file) to the root directory of the USB drive. Install the Update: Plug the USB drive into the TV.
Download the file and save it directly to the of your formatted USB drive (do not put it inside any folders). Step C: Flash the Firmware onto the TV Turn off the Geepas TV and unplug it from the wall. Insert the USB drive into the USB 2.0 port on the TV.
Click on heavy apps (like YouTube, Netflix, or Prime Video) and select . geepas smart tv software update fixed
Once the process completes, navigate to and execute it. Select Reboot system now . Step 3: Force a Manual Firmware Flash via USB
If the TV is slow to respond to the remote, the update clears the buffer and optimizes processor usage. Troubleshooting: What to Do If the Update Fails
Do not turn off the TV or touch the remote while the progress bar fills up. This process takes 5 to 10 minutes. When the internal recovery partition cannot fix the
If your Geepas smart TV is acting sluggish, showing error messages, or refusing to load apps, a software update is usually the first line of defense. Here is what a typically fixes:
A is a powerful tool to keep your entertainment system running smoothly. It often fixes issues that seem like hardware problems. By keeping your software updated, you ensure compatibility with new streaming app requirements and keep your TV operating at peak performance.
Mismatched security certificates cause network connection failures right after an update. Go to > Device Preferences > Date & Time . Disable Automatic Date & Time . Manually set the correct current time zone, date, and hour. Re-enable Automatic Date & Time and restart the TV. Clear System App Caches Navigate to Settings > Apps > See All Apps . Install the Update: Plug the USB drive into the TV
If an update is available, click Download . Once downloaded, select Install Now .
Go to the App Store or Google Play Store (if applicable) and check for app updates to ensure compatibility with the new firmware.
Go to Settings > Network > IP Settings on your TV. Switch from DHCP to Static, and change your Primary DNS to Google’s public DNS ( 8.8.8.8 ) or Cloudflare ( 1.1.1.1 ). This bypasses local ISP routing blocks to the Geepas update servers.

TULISKAN KOMENTAR KAMU